Build your first plot layout
Short screen recordings and plain steps for every tool and setting. Follow the sections in order, or jump to the one you need.
1Create a project
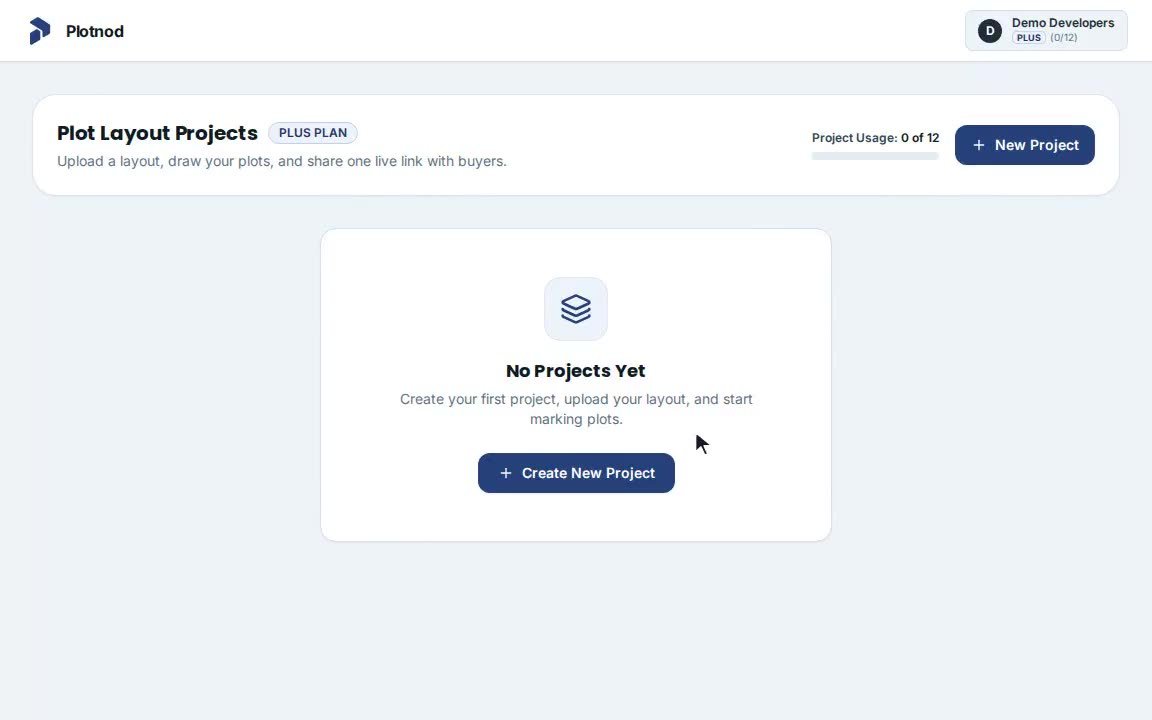
A project is one layout with all its plots. You can make a new one in under a minute.
Create your first project
Start from your dashboard.
- Click New Project.
- Type the Project name. The Public link name fills in for you. You can change it (letters, numbers and dashes).
- Add your WhatsApp number with the country code, for example 919876543210. This is optional, and buyers use it to message you.
- Click Create & Open Editor.
TipThe meter at the top of the dashboard shows how many projects your plan includes and how many you have used.
2Upload your layout
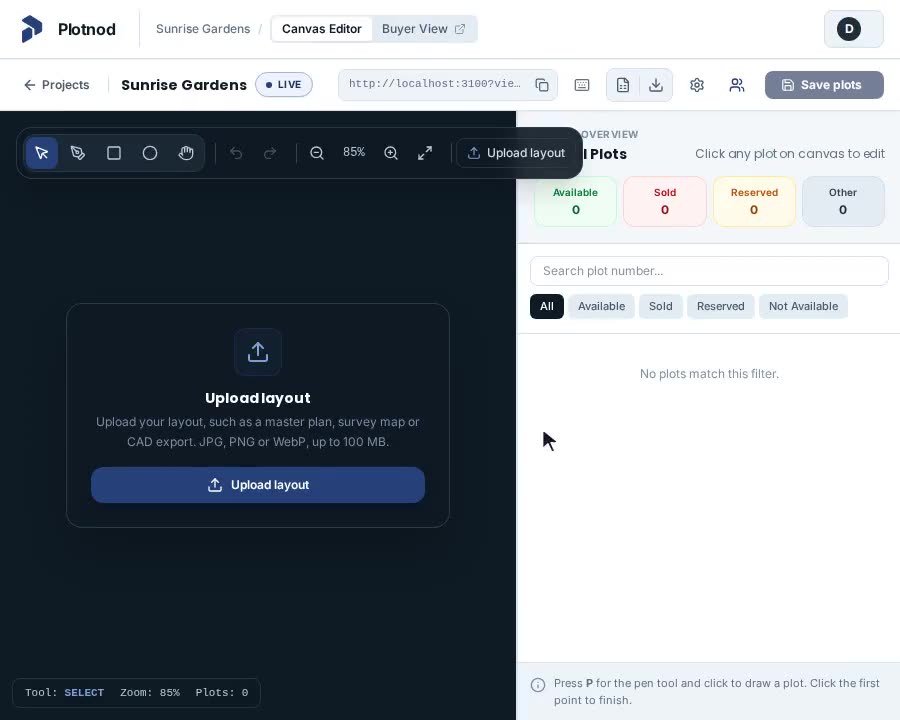
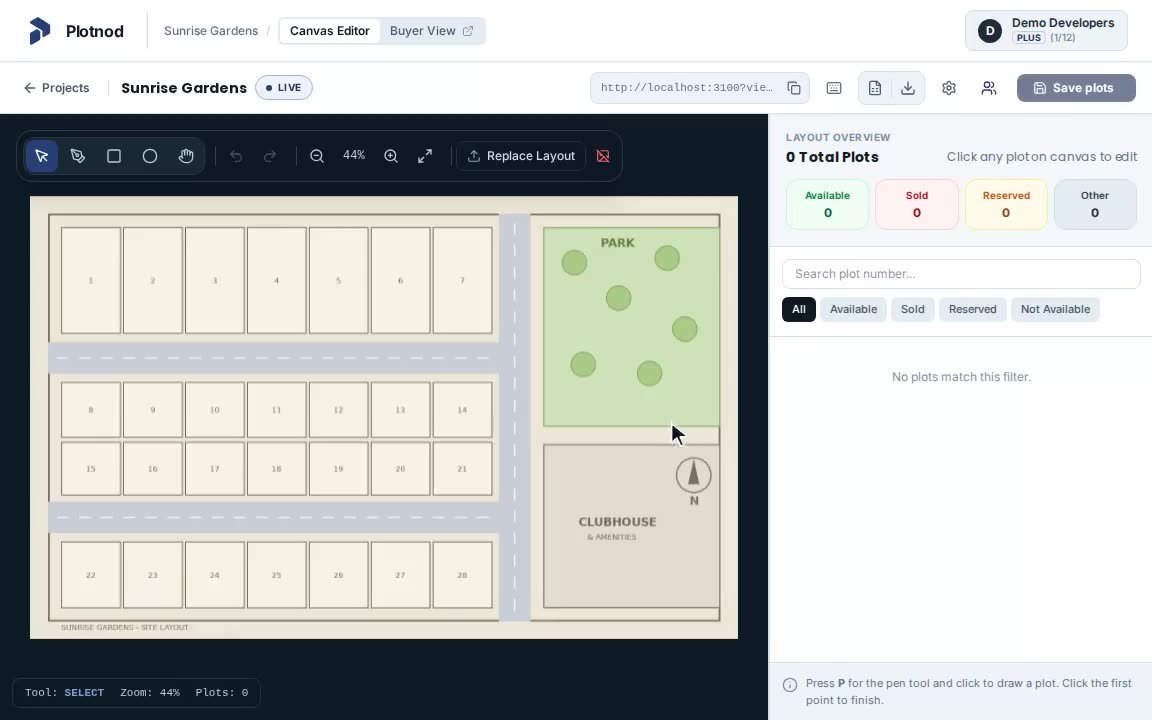
Use your master plan, survey map or CAD export as the background.
Upload the layout image
JPG, PNG or WebP, up to 100 MB.
- In the editor, click Upload layout.
- Choose your image file.
- Pick how it is saved. Original keeps full quality. Balanced saves a lighter copy with no loss in quality and opens smoothly on phones. Smaller file loads fastest on slow connections, with a small loss in fine detail.
- Click Upload, then OK. The layout fits the screen automatically.
TipFor the sharpest result, export your layout at 8K (7680 px on the long side) or smaller. Larger images are scaled down automatically.
3Draw your plots
Choose a tool from the toolbar at the top left of the canvas. The letter in brackets is its keyboard shortcut.
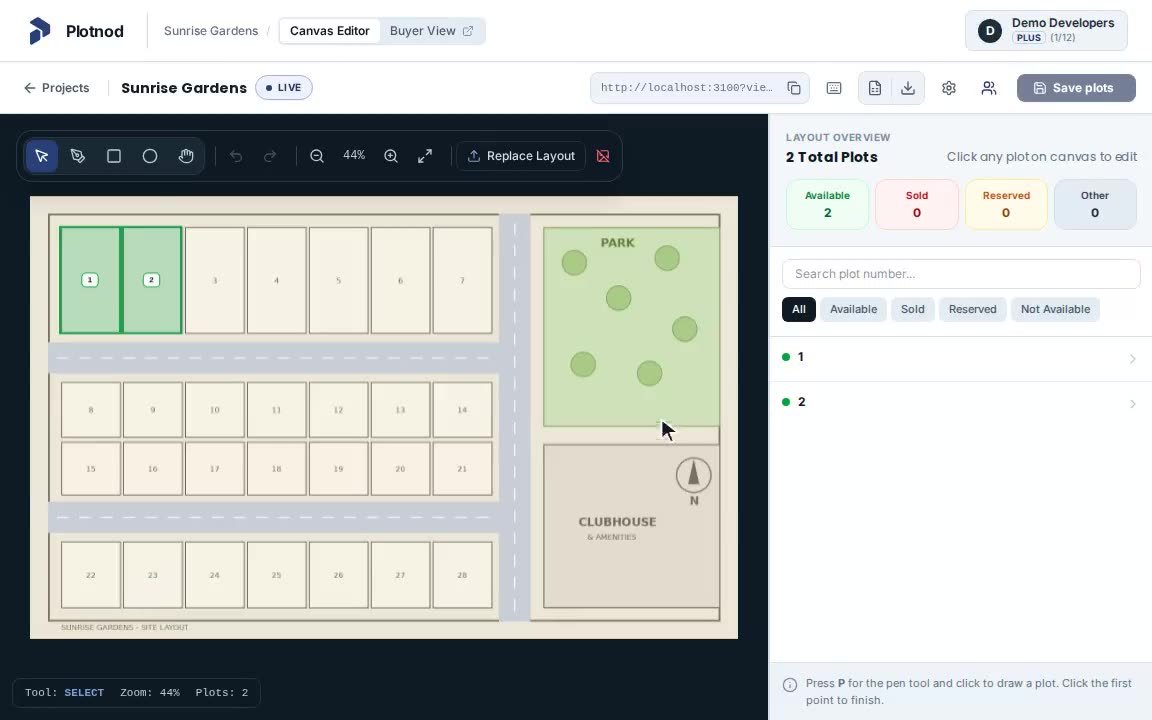
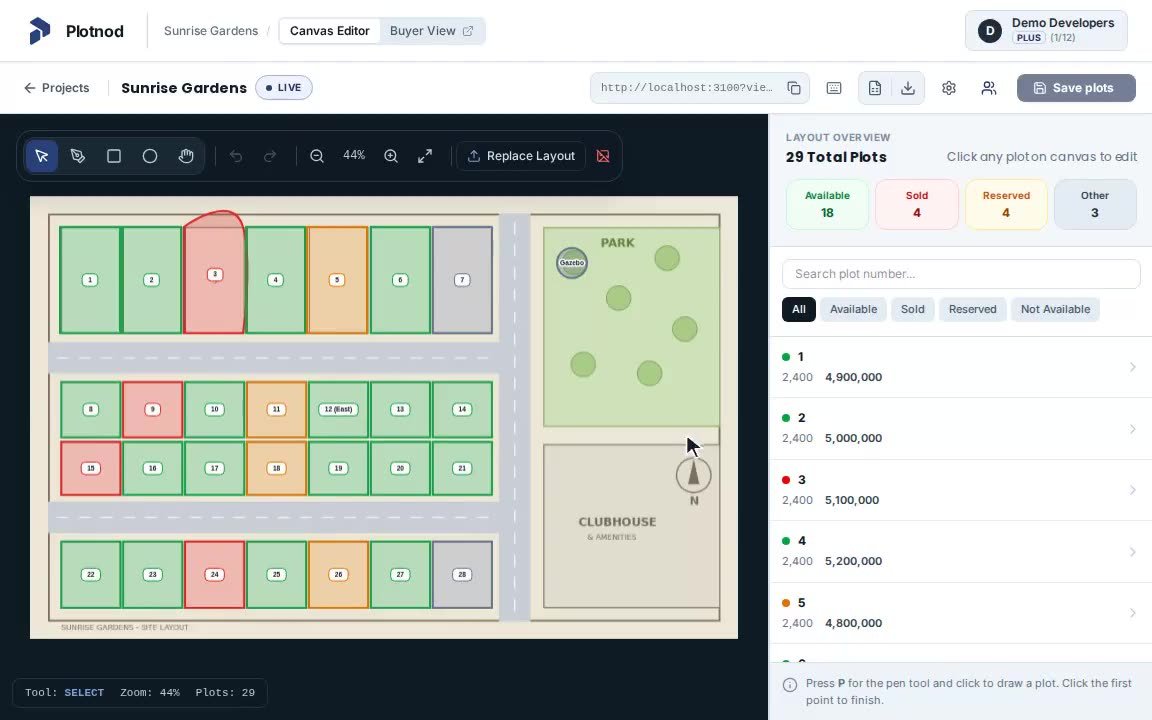
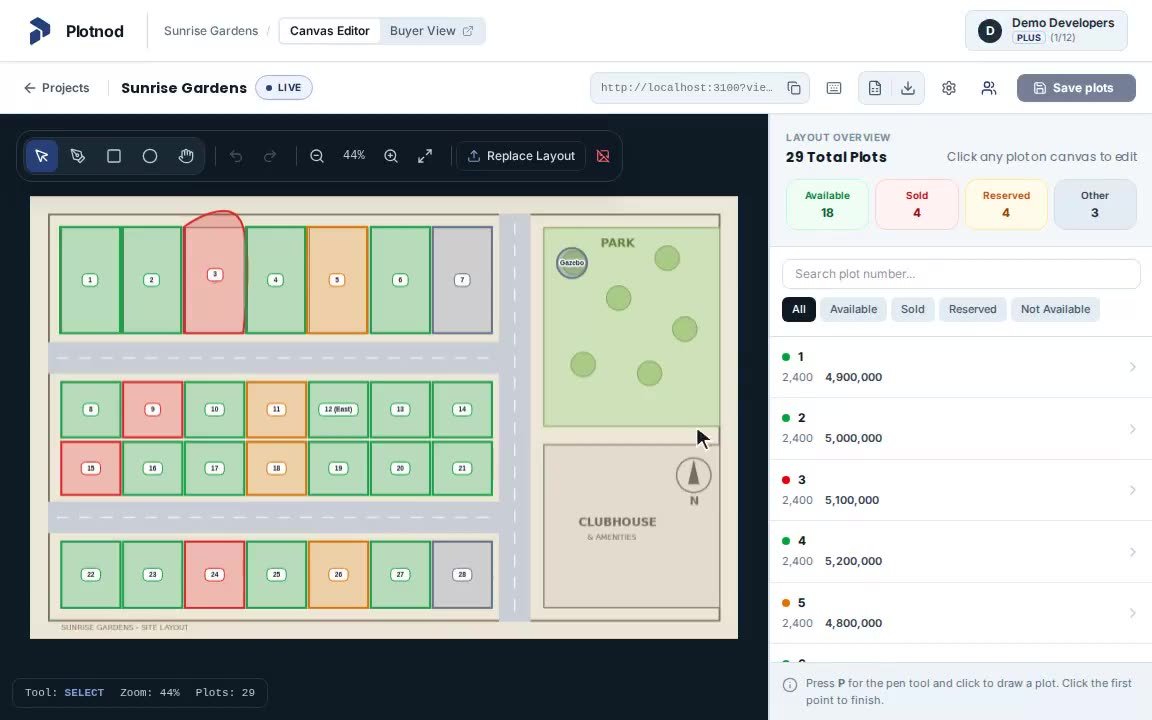
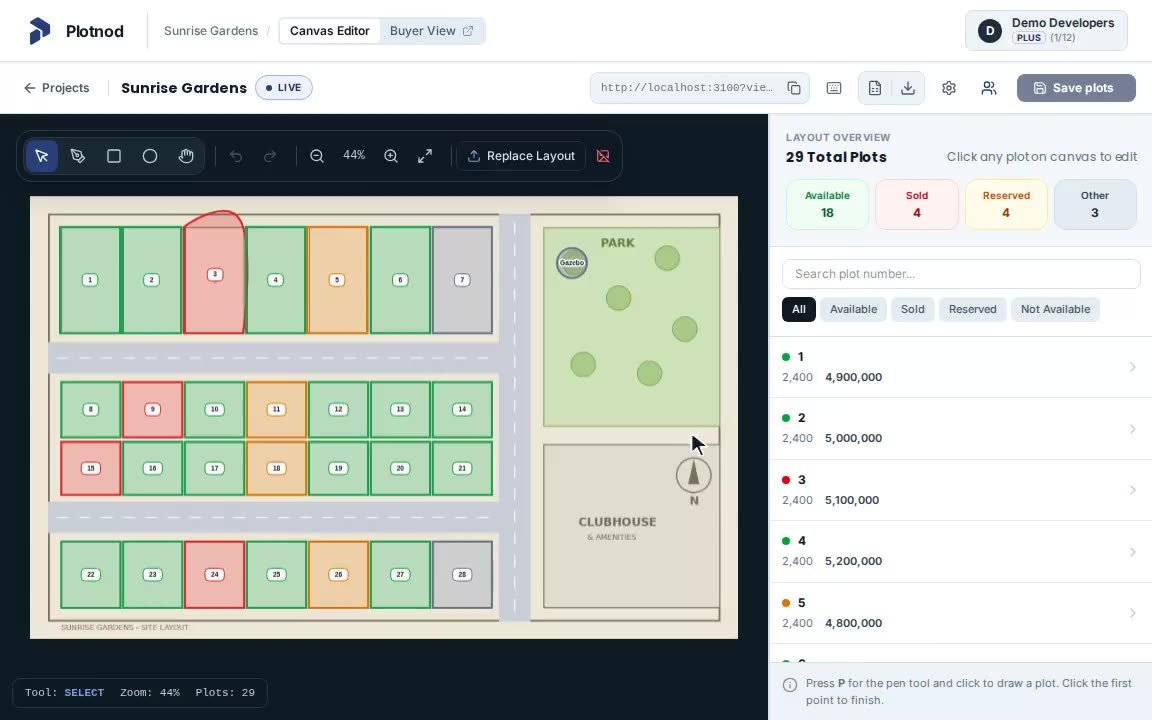
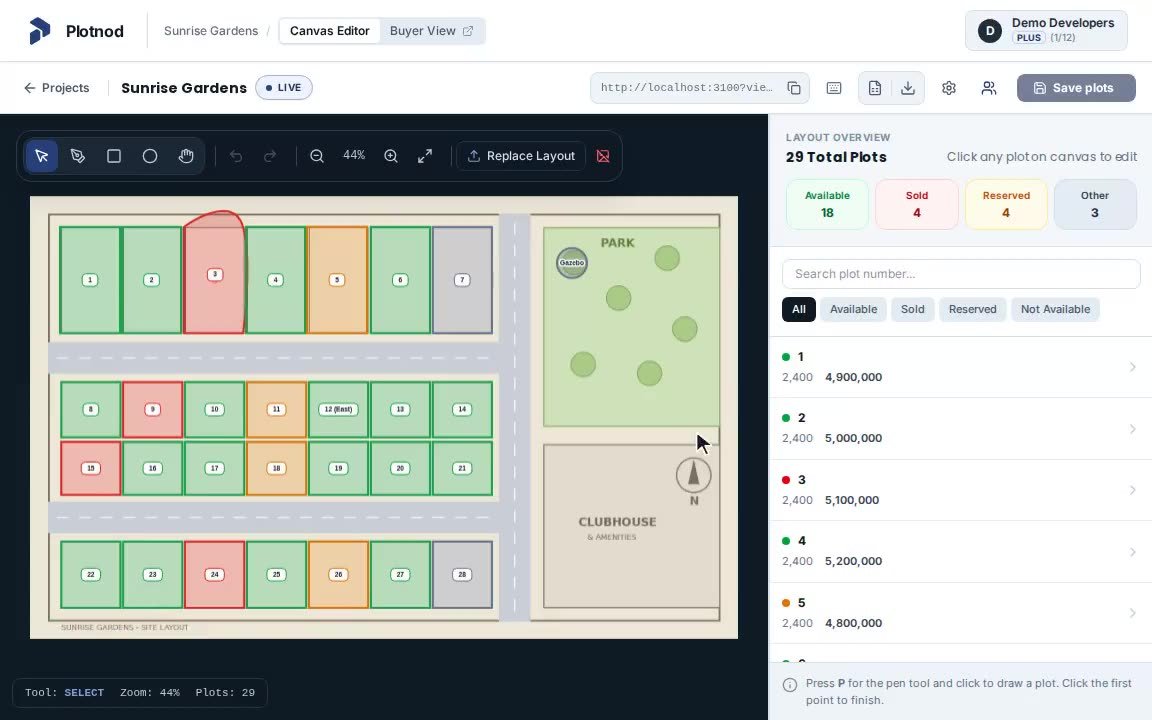
How the pen tool works
A quick preview. The real recording is just below.
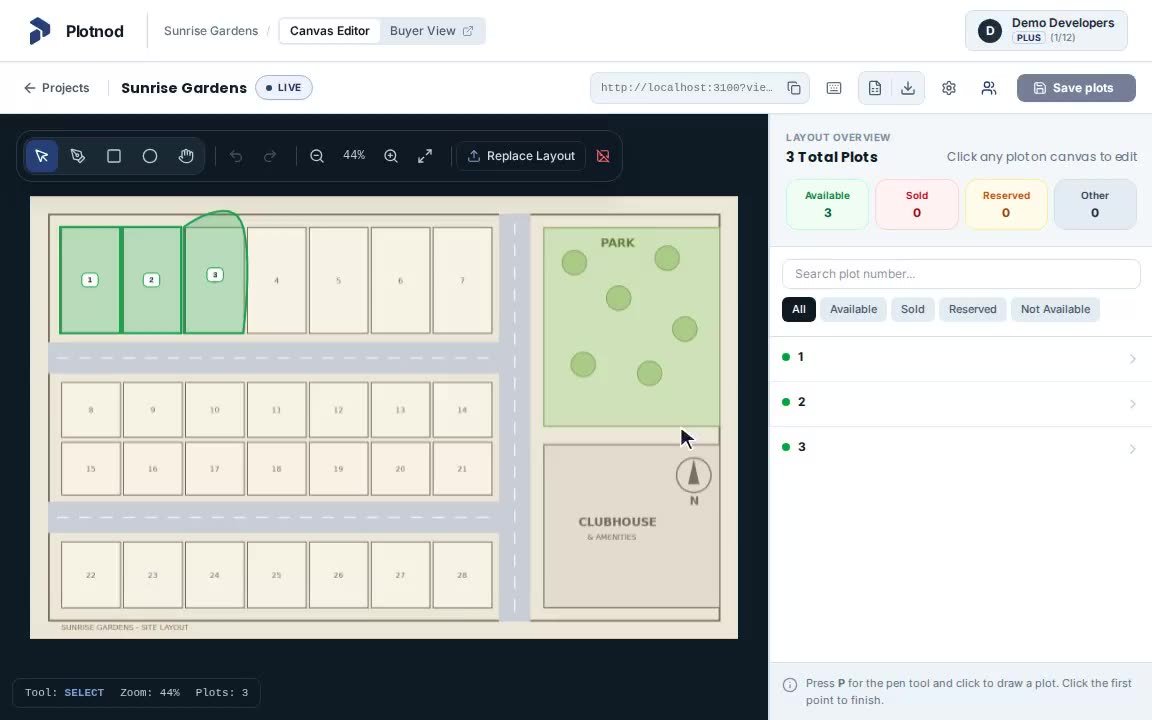
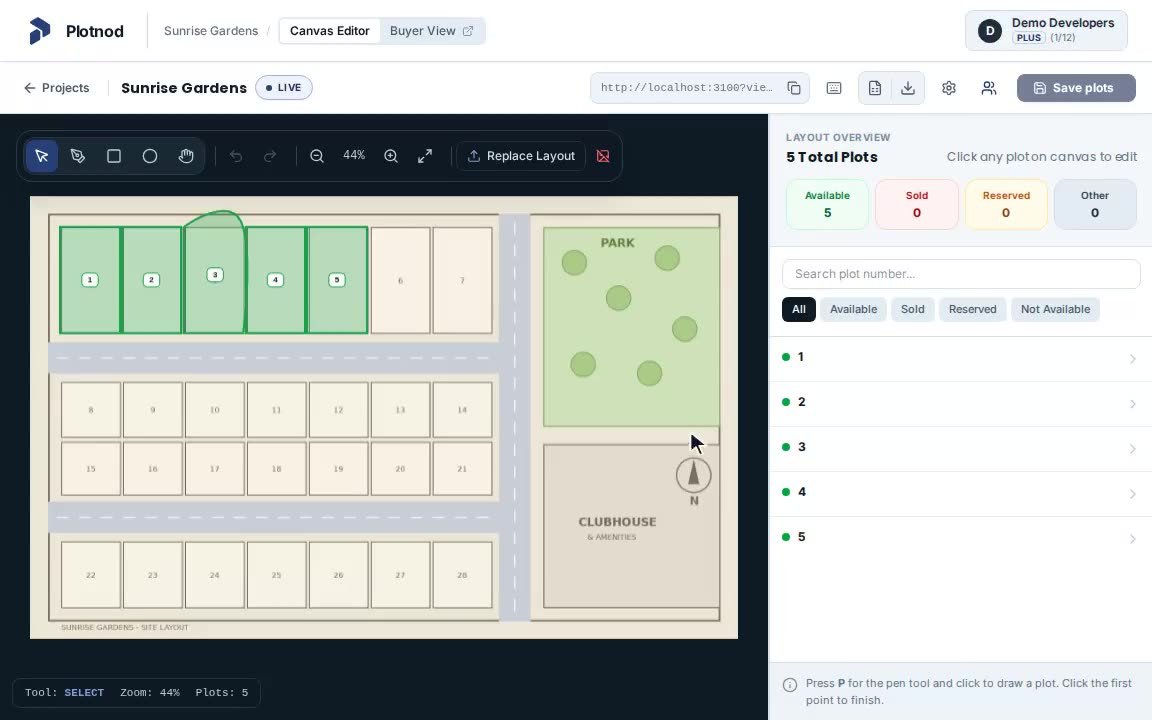
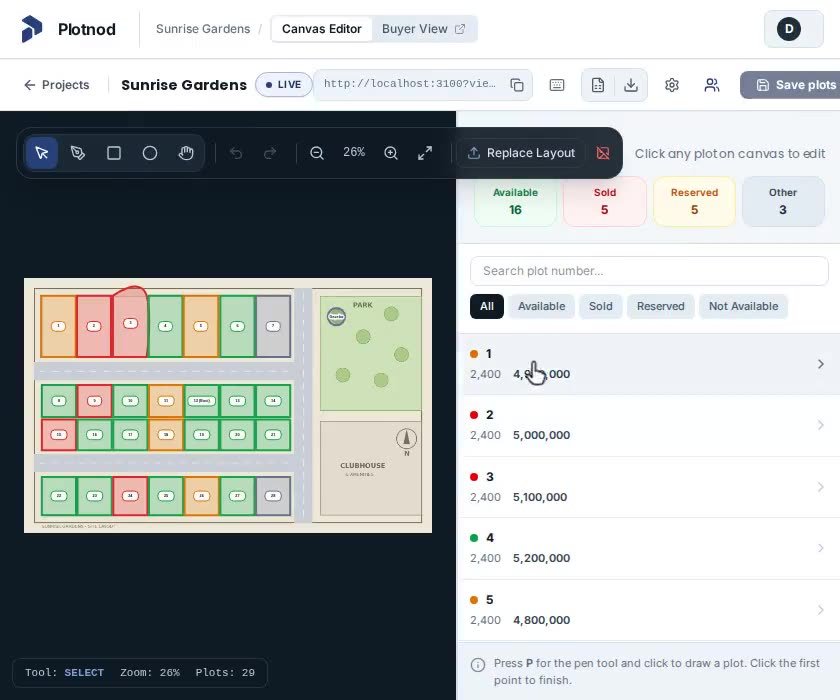
Pen toolDraw a plot, one corner at a time
- Pick the Pen tool (or press P).
- Click each corner of the plot.
- To curve an edge, click and drag at a corner instead of just clicking.
- Click the first point to close the shape. Enter or a double-click also closes it.
Pen tool (P)
Trace the plot by clicking its corners.
- Click Pen in the toolbar.
- Click each corner of the plot.
- Click the first point again to close the shape, or press Enter.
- The plot details panel opens so you can name it straight away.
TipHold Shift while drawing to keep lines straight (horizontal or vertical). Press Ctrl+Z to remove the last point, or Esc to cancel the shape.
Curved edges with the pen
For round corners, cul-de-sacs and curved boundaries.
- With the Pen tool, click the corners as usual.
- At a corner where you want a curve, press, hold and drag in the direction of the curve. Two handles appear.
- Release, then continue clicking the remaining corners.
- Click the first point to close the shape.
TipPress L to make the next edge straight again after a curve.
Rectangle tool (R)
The fastest way to draw regular plots.
- Click Rectangle in the toolbar.
- Press at one corner of the plot and drag to the opposite corner.
- Release. The plot is created and selected.
Circle tool (C)
For round or oval areas such as a roundabout or a gazebo.
- Click Circle in the toolbar.
- Press and drag across the area you want to cover.
- Release. A round shape is created and selected.
Select and edit (V)
Move plots, reshape them and add points.
- Click Select, then click a plot. Its points appear.
- Drag the plot to move it.
- Drag a corner point to reshape it.
- Move the pointer over an edge and click the + that appears to add a point, then drag the new point.
- Use Undo to step back any change.
TipHold Ctrl or Shift and click to select several plots, or drag across an empty area to select a group. Press Delete to remove the selected plots.
Zoom, pan and fit to screen
Get close to small plots and back out again.
- Scroll the mouse wheel to zoom toward the pointer.
- Pick the Hand tool (H) and drag to move the layout around. Holding Space and dragging does the same.
- Use zoom out and zoom in in the toolbar for steady steps.
- Click Fit layout to screen to see the whole layout again.
Duplicate, delete, undo and redo
Fix mistakes and repeat similar plots quickly.
- Select a plot.
- Click Duplicate (or Ctrl+D) to make a copy, then drag it into place.
- Click the bin icon, or press Delete, to remove the selected plot.
- Use Undo (Ctrl+Z) and Redo (Ctrl+Y) to go back and forward.
Keyboard shortcuts
Open the full list any time.
- Click the keyboard icon in the editor header.
- Read the list, then click close.
TipMost useful: V select, P pen, R rectangle, C circle, H hand, Ctrl+S save.
4Add plot details and save
Give every plot a number, a status, and the details buyers need.
Fill in a plot
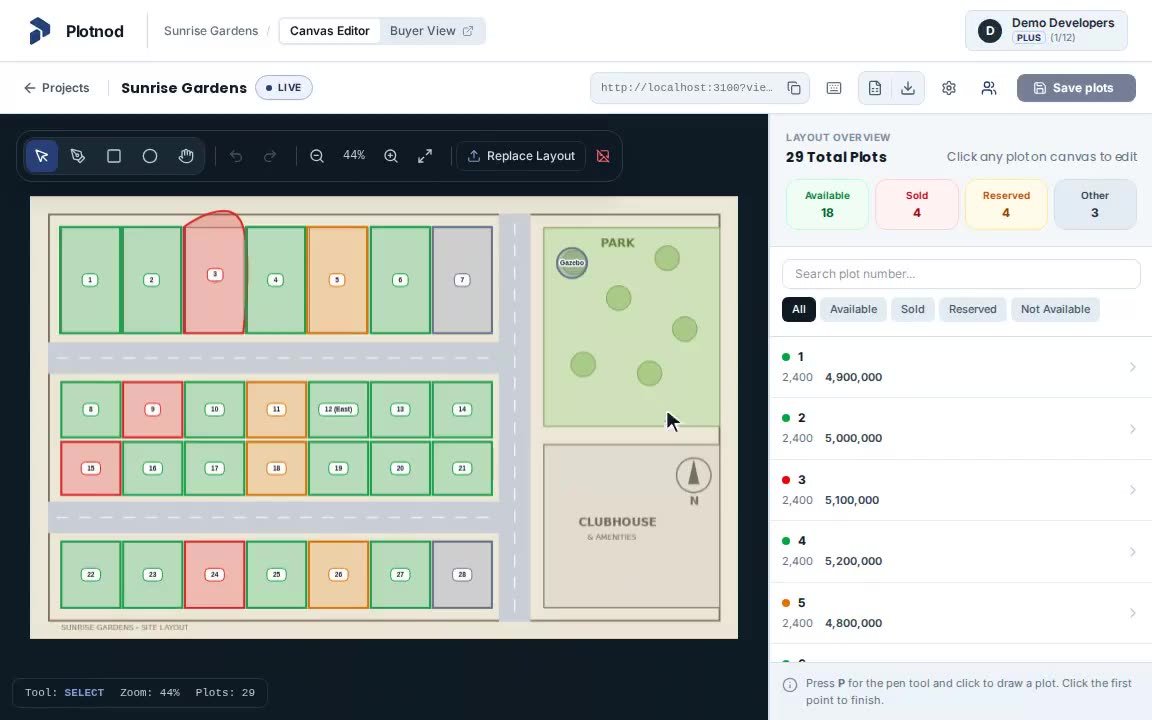
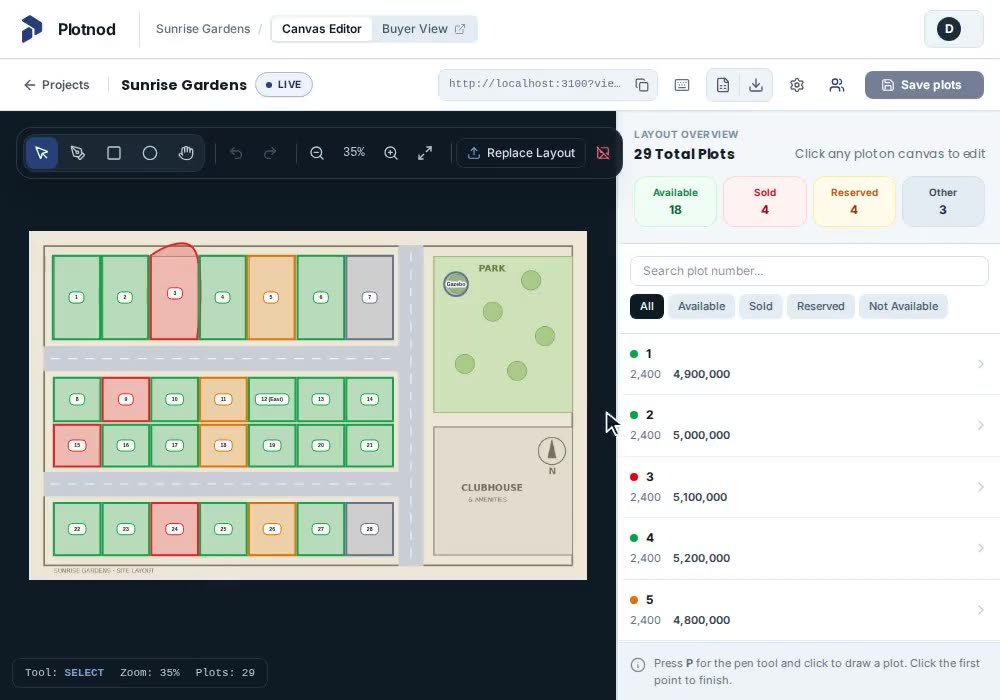
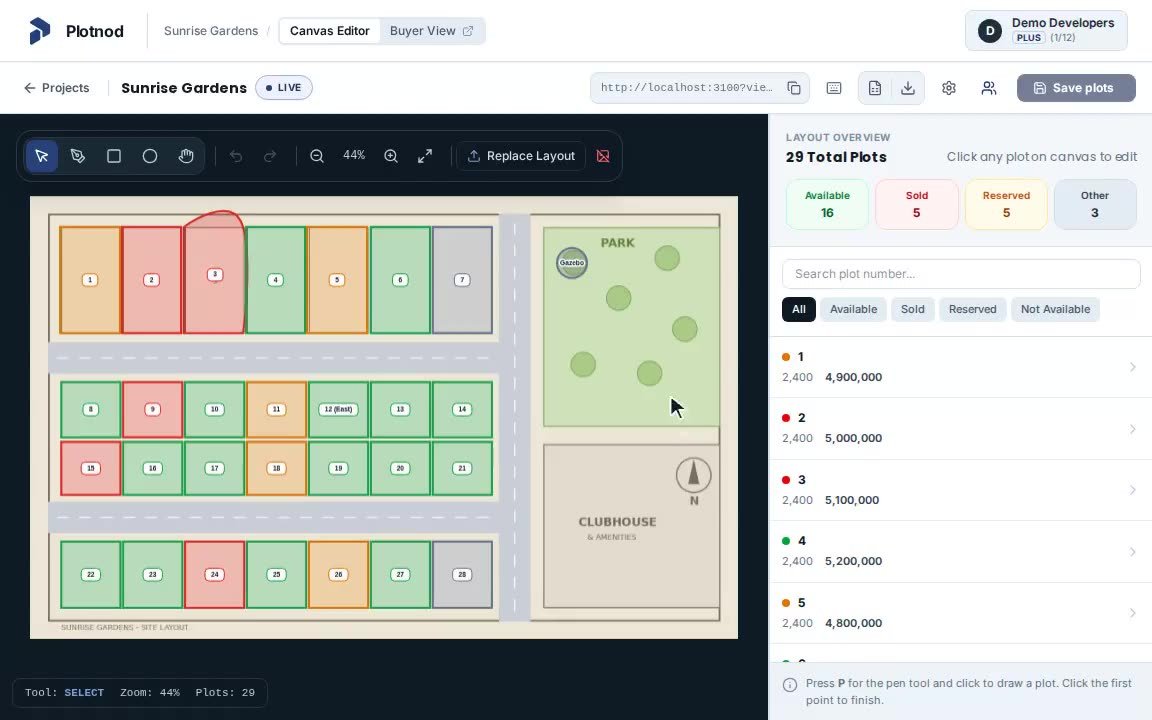
Click a plot on the map to open its details on the right.
- Click the plot.
- Type the Plot number / label.
- Choose the Plot status.
- Enter the Area and Price. The unit and currency come from your Map Display settings.
- Pick the Facing direction.
- Use Add Field for anything extra, such as Road width, then type a name and value.
- Click Save plots.
TipThe Save plots button turns dark when you have unsaved changes. Click it, or press Ctrl+S, and wait for All changes saved.
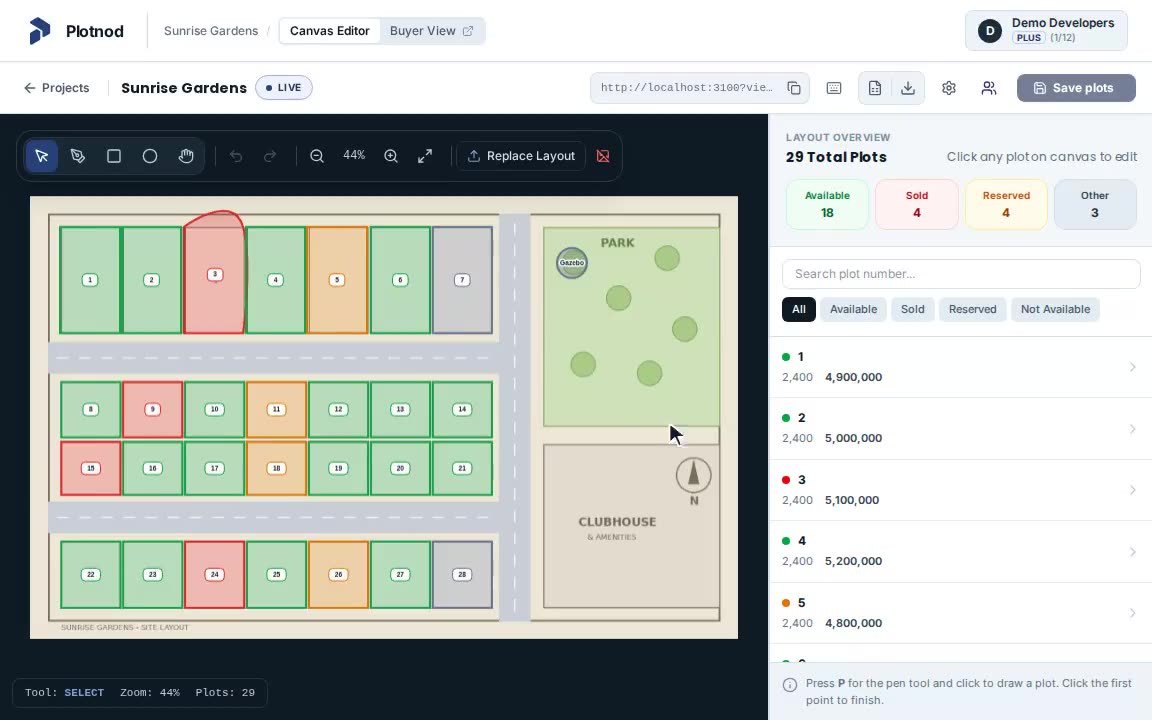
AvailableSoldReservedNot AvailableN/A
Find plots quickly
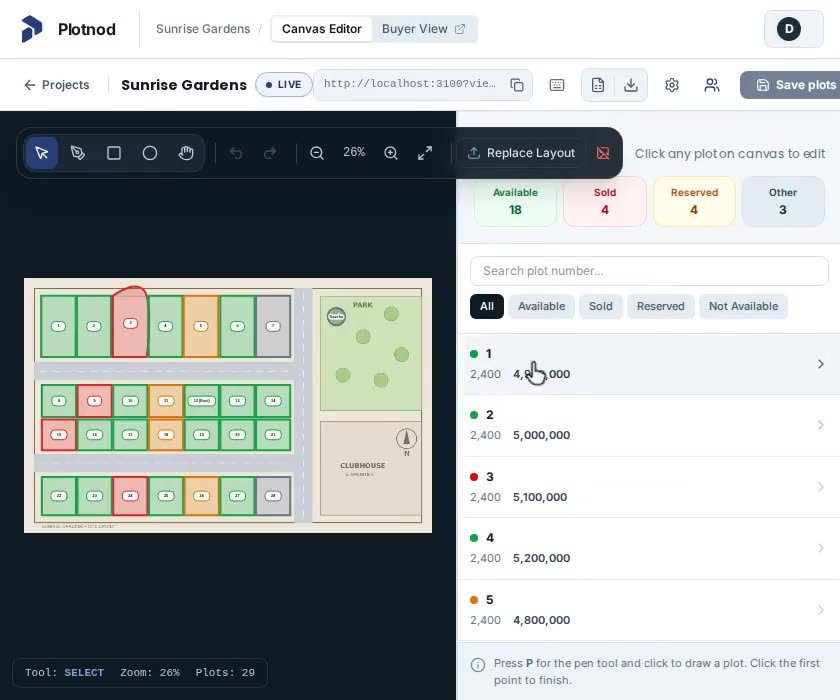
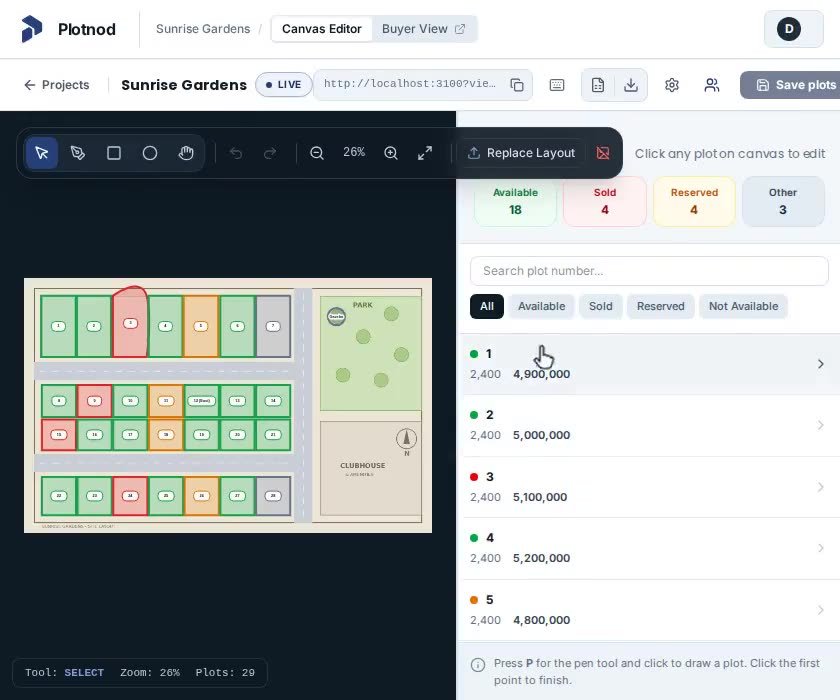
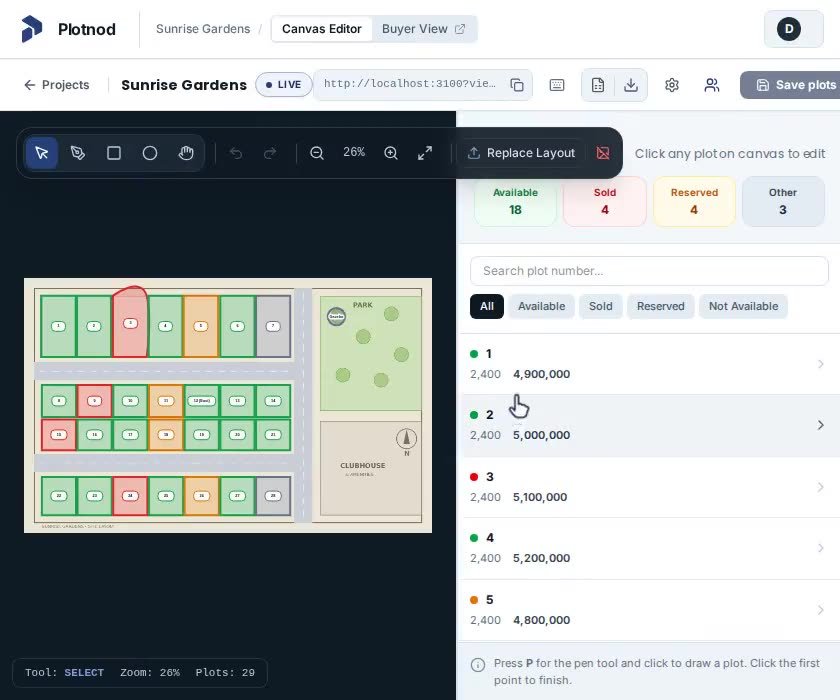
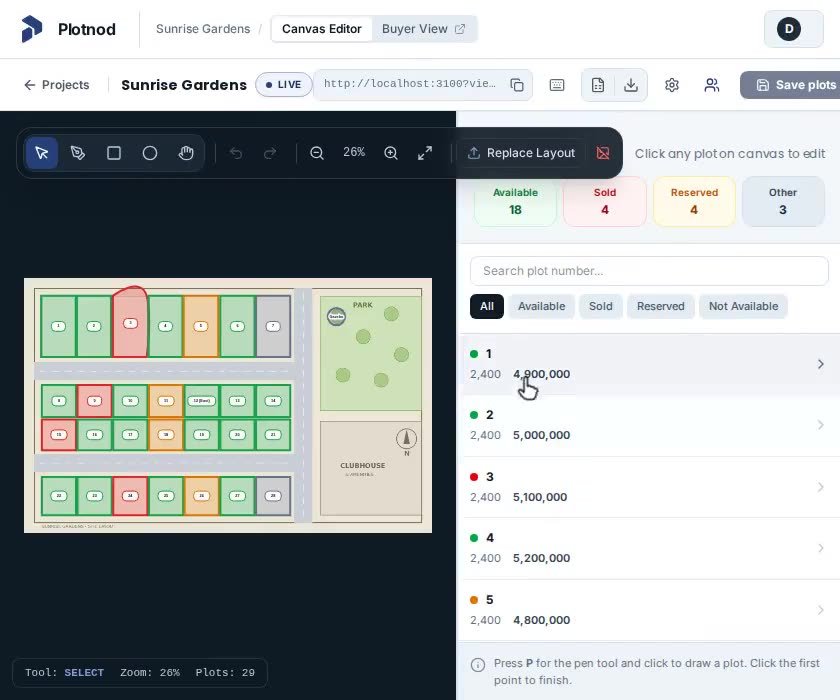
The list on the right shows every plot.
- Type a plot number in Search plot number.
- Click Sold, Reserved, Available or Not Available to filter the list. Click All to clear it.
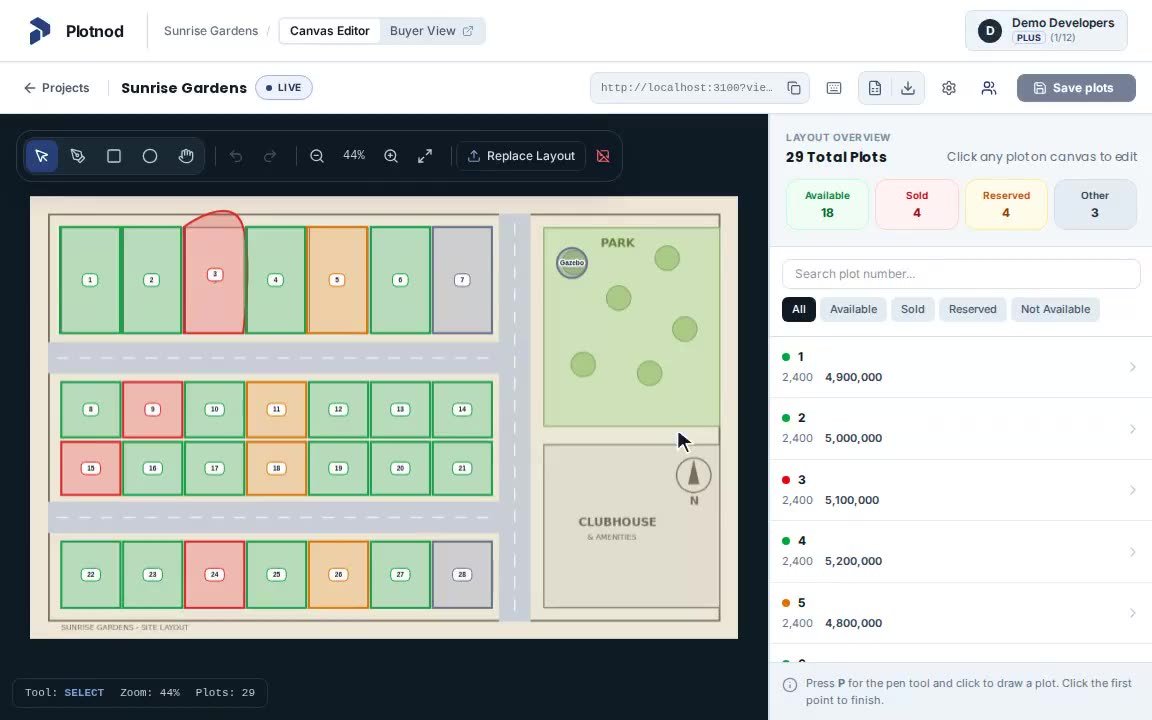
- The coloured tiles at the top show how many plots you have in each status.
- Click any plot in the list to open its details.
5Project settings
Click the gear icon in the editor header. There are four tabs. Click Save Settings after changes.
General
Name, public link and sharing.
- Open Project settings (the gear icon).
- Company / Builder name is shown to buyers under the project name.
- The Project URL slug is the last part of your public link.
- Turn Public buyer link off to hide the project from buyers, and on to show it.
- Click Copy to copy the link, or Download embed file to show the layout on your own website.
- Click Save Settings.
Branding
Layout image, logo and WhatsApp.
- Open the Branding tab.
- Replace Layout swaps the background image. If you replace it with the same picture, your drawn plots stay in place. A different drawing means redrawing the plots.
- Click Upload Logo and choose a PNG, JPG or WebP up to 5 MB. It is resized automatically.
- Enter your WhatsApp number with the country code.
- Write the WhatsApp message buyers send. Use {plot_no} and {project_name} and they fill in automatically.
- Click Save Settings.
Map Display: numbers, units and currency
How the plots look on the map.
- Open the Map Display tab.
- Use Show plot numbers on the map to show or hide the labels.
- Pick the Plot Number Size: Auto, Small, Medium or Large.
- Set the Plot Number Color by typing a colour code or using the colour box.
- Choose your Area Unit (sq ft, sq m, cents, acres, sq yd, or your own) and Currency.
- Click Save Settings.
Map Display: buttons, overlays, fields and documents
What buyers see and can do.
- Floating WhatsApp button adds a general WhatsApp button to the page.
- Google Maps location button opens your project location. Paste the link from Google Maps.
- Share plot details and Inquire about this plot are on by default. Turn them off to hide them.
- Status Overlay Toggles choose which statuses buyers see on the map. For example, switch off Sold to hide sold plots.
- Project Fields adds a named field (for example Dimension) to every plot.
- Project Documents adds a named button (for example RERA Certificate) that opens a link, such as a Google Drive file.
Status Editors
Let your team update availability without touching your drawing.
- Open the Status Editors tab.
- Availability status is always editable by editors. Turn on Price, Notes and other fields if you want them to edit those too.
- Type the editor's email and name, then click Invite Editor.
- They receive an email to set up their password and sign in at the editor portal link shown in this tab.
TipYou can invite up to 3 people per project. They can update status, price and notes, but they cannot change plot shapes or project settings.
6Publish and share
Your buyers open one link and see availability live.
Go live and copy the link
Control it from the editor header.
- The Live button shows the project is public. Click it to switch to Draft (hidden), and click again to go live.
- Click the copy icon next to the link to copy the public link.
- Paste the link in WhatsApp, Instagram, ads or your website.
What buyers see
Works on phones, tablets and computers.
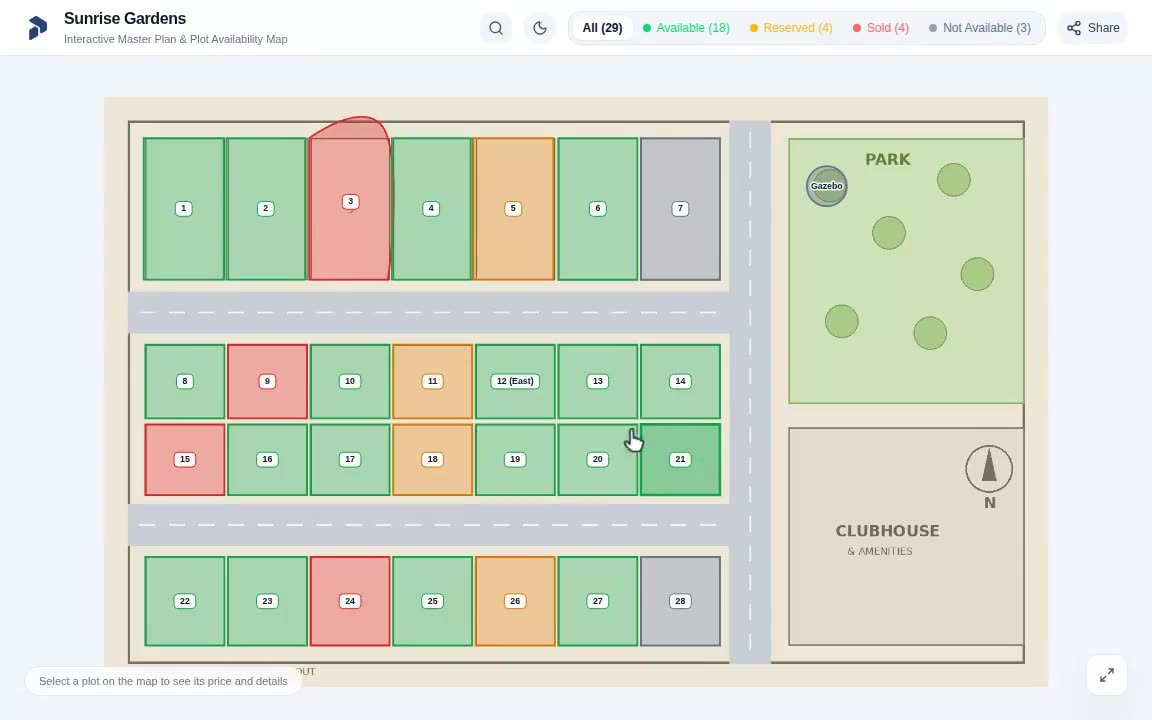
- Buyers tap a plot to see its status, area and price.
- The colour tabs filter the map. For example, Reserved dims everything else.
- The search icon finds a plot by its number. Type the exact number and press Enter.
- The moon icon switches between light and dark themes.
- Share plot details sends a plot to a friend. Inquire about this plot opens WhatsApp with the plot already named.
TipOpen your own public link on your phone before sending it out, to check it the way buyers will.
7Live portal for your team
A simple page where your editors sign in and update availability.
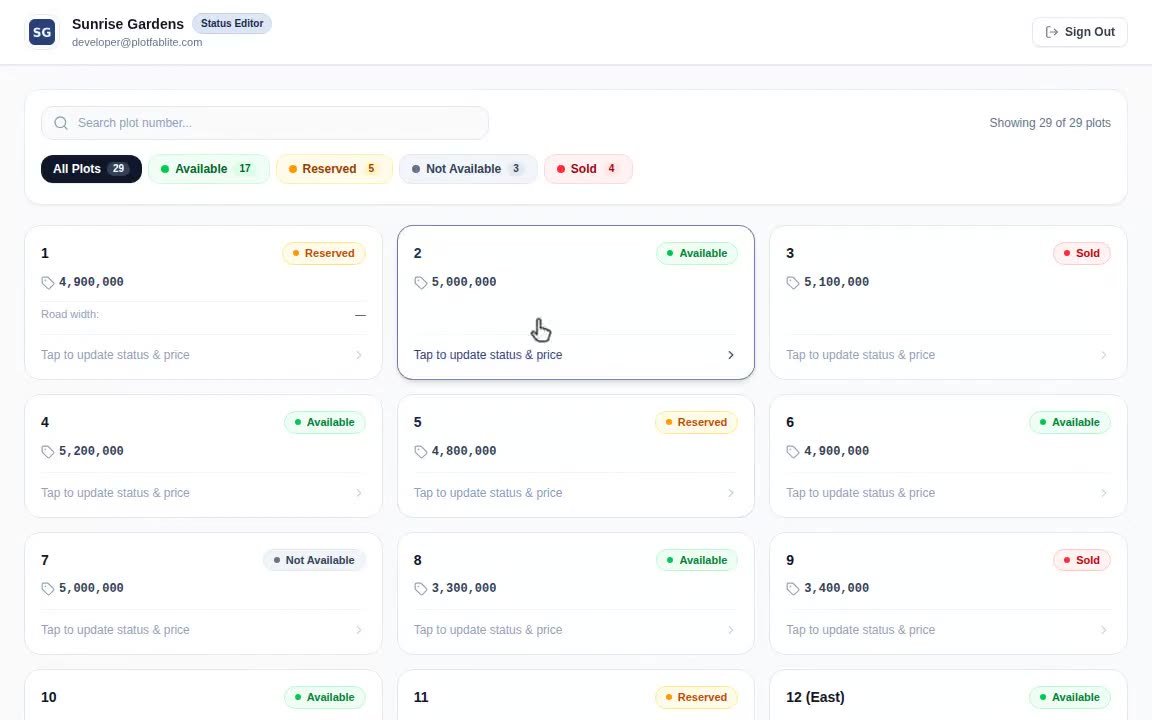
Editors sign in
Use the editor portal link from the Status Editors tab.
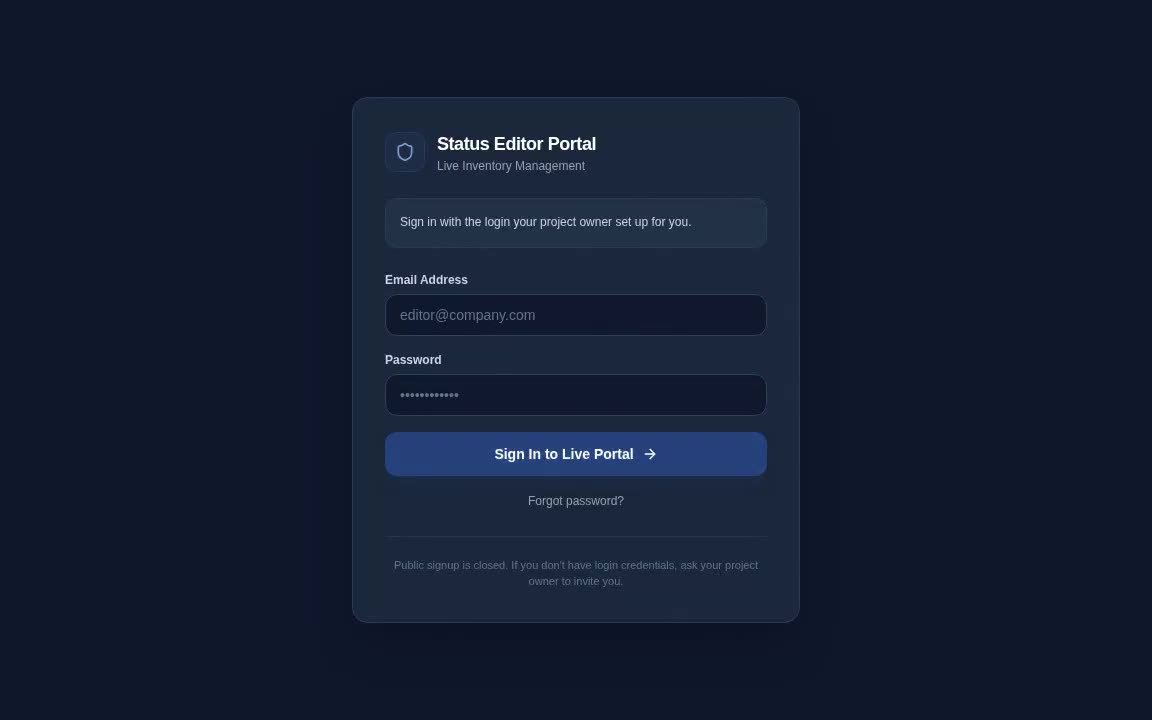
- Open the portal link (it ends in /live).
- Enter the email you invited and the password they set up.
- Click Sign In to Live Portal.
Update a plot
Fast changes while you are on the phone with a buyer.
- Search a plot number, or use the status tabs to filter.
- Tap a plot card to update it.
- Choose the new status. If you allowed it, editors can also change the price and notes.
- Click Save Changes. Buyers see the change on the public link right away.
8Update many plots at once
Bulk import is available on accounts where it is turned on. If you do not see the import icon, ask us to enable it.
Import plot data from a spreadsheet
Edit prices and statuses for many plots in one go.
- Click the Import Plot Data icon in the editor header.
- Click Download current plots as CSV (template). It lists every plot with its current values.
- Edit it in Excel or Google Sheets. The plot_no column is required. Optional columns are area, price (plain numbers), facing, notes and status. Any other column becomes an extra field.
- Click Choose CSV file and check the preview.
- Click Apply.
TipRe-download the template each time. It always has your latest values.
9Manage your projects
Everything you do outside the editor.
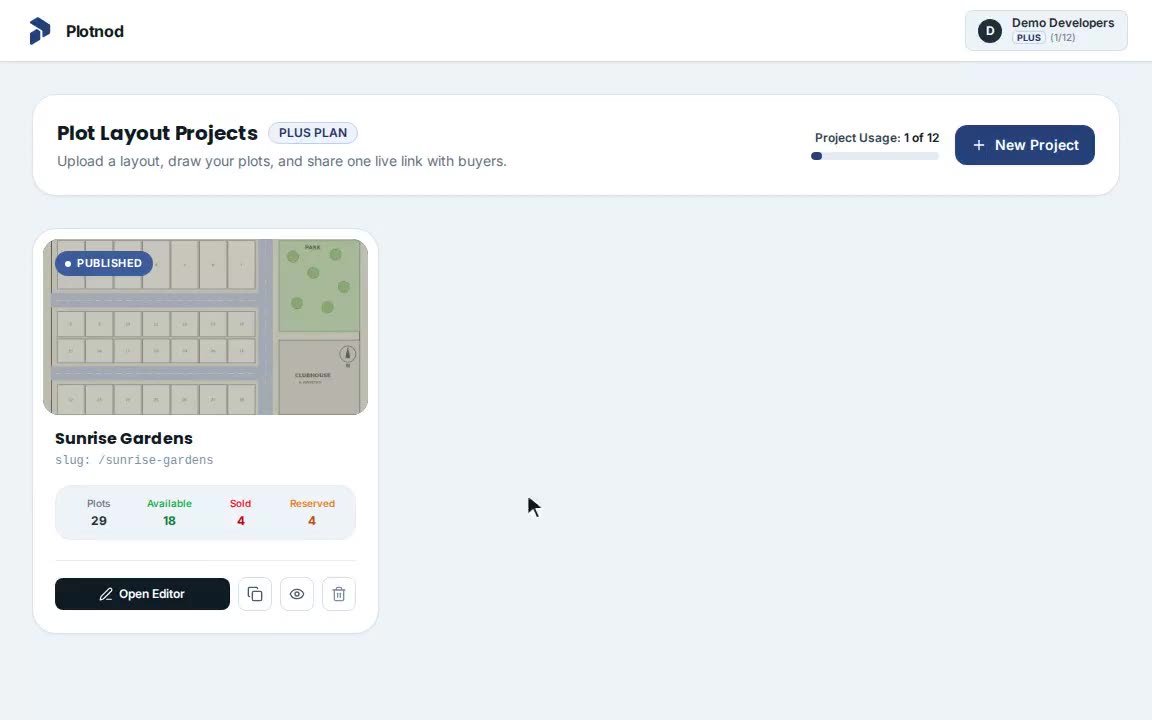
Your dashboard
All your projects in one place.
- Each card shows the plot counts by status.
- Open Editor opens the project.
- The Published button switches a project between live and draft.
- Use the icons for copy buyer link, preview buyer view and delete.
- Delete asks you to confirm, and it cannot be undone.
Good to knowDeleting a project removes its plots and settings for good. If it is published, its public link stops working too. Switch it to draft instead if you only want to hide it.
Replace the layout image
Use this when you get an updated drawing.
- In the editor, click Replace Layout and choose the new image.
- Read the notice and click Replace Image.
- If the new image is the same picture, your plots stay in place at any size. If it is a different drawing, you will need to redraw the plots.
Good to knowThis is permanent. Keep a copy of your old layout file.
10Using Plotnod on a phone
Draw and set up on a laptop or desktop. Use your phone for quick updates.
- On a computer: upload the layout, draw plots, and set up your project.
- On a phone: open a project, find a plot, and update its details and status.
- Buyers can use the public link on any device.
11Before you share your link
A quick checklist.
- Every plot has a number and the right status.
- Area and price are filled in, and the unit and currency are correct.
- Save plots says All changes saved.
- Your logo and WhatsApp number are added.
- Public buyer link is on.
- You opened the link on your phone and tapped a few plots.
 PlotnodGuide